No doubt about it, teaching remotely from your home office or kitchen counter is much harder than facing a room full of kids. Using a video link, such as Zoom, can help.
Google Meet, however, goes a step or two further with extra security and functionalities such as the ability to add in auto-graded quizzes. Regardless of if it’s to teach the history of the Iroquois Confederation, the parts of speech, or how radioactive decay works, a variety of lessons can be presented over video with Meet.
Here’s how to make the most of the service.
1. Setting up Google Meet
Unlike Zoom, if you have a Gmail or Google Classroom account, you have access to Google Meet, but it’s easier if your school already uses the Classroom apps. If not, you can easily set it up. If you want, Meet can get you a domain name and URL for your class to use as its webpage, but it costs $12 per year, plus $12 per month after a two-week trial.
- What is Google Classroom?
- Google Classroom Review 2020
- Google Classroom for Teachers: A How To Guide
- Best Zoom Shortcuts for Teachers
2. Starting a class call using Google Meet
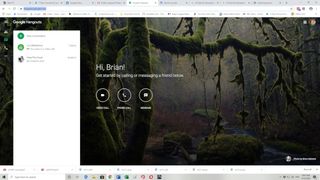
To get a Meet-based remote class going, start at either Video Call, Phone Call, or Message. You can use a contact group to send it to everyone at once, or just contact a single student for a one-on-one lesson. Alternatively, a scheduled video class can be set up via a Calendar entry with a specific day and time.
3. Keeping students out of Google Meet until you’re ready
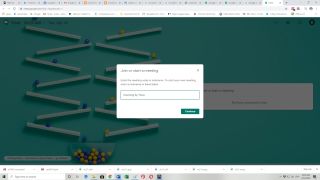
As is the case with Zoom video lessons, you only want to allow students to join after you’ve started the video call. If you use a nickname for the lesson (such as “What is Pi?”) students can neither enter before you nor stay online after you end the session. Start at the 9-dot Google apps icon in the upper right, select Meet and tap to “Join or Start a Meeting.” At this point, the lesson can begin on your terms.
4. Making automatic assessments using Google Meet
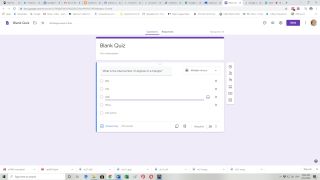
One of the bonuses of using Google Classroom and Meet together is the ability to create self-graded quizzes.
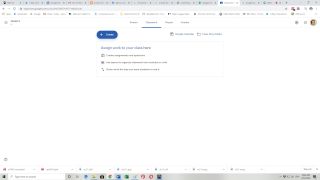
- Begin at the Classwork tab at the top of the Classroom page;
- Tap Create;
- Pick the type of test you want, such as a multiple-choice quiz;
- Put in a title and instructions, and click on Blank Quiz;
- Add your questions one at a time using the Add option feature;
- When done, go to the Answer key link at the bottom to proof, indicate the correct answers, and add point scoring.
5. Integrating a document camera
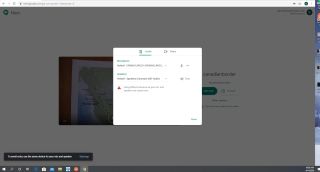
This is one of the easiest ways to augment your remote teaching style to make it feel closer to a traditional classroom. As the name implies, a document camera lets you add physical items to your lesson, from a map to a petri dish. As with Zoom, you need to manually select the document camera to connect it to the video stream. Once you’ve established a video link, click on the three-dot settings icon in the lower right of the Meet screen. Then, click on Video at the top. Finally, an option to select the camera and its video stream should appear on screen after a second or two.
6. Taking attendance
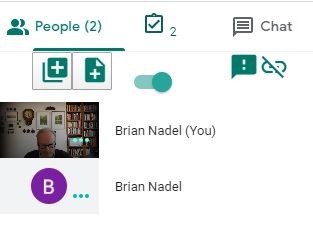
The latest Chrome browser add-on can take virtual attendance of your video lessons. To start, you’ll need to download and install the Chrome Meet Attendance extension that is provided for free by Claycodes.org. It adds a section in the upper right of the Meet screen above where the class participants are listed. If you click to turn on the horizontal switch, it will record who is present on a time-stamped Google Sheets document. Note: It can record that your students are online but it can’t tell whether they’re paying attention--that’s up to you.
